1. Select a Photo
In this tutorial, I’m going to work with a candid image of a subject. In general, what I’ve found works best is to use fairly simple scenes with the comic actions. Too much detail can complicate the scene.

Ideally, an image on solid, bright colors would work perfectly for the comic action as you can see in the example on Elements. For this tutorial, I’ve chosen an image with a pretty simple background. I’m okay with the details of the wall in the image mostly falling out of view as we apply the action, as they aren’t relevant to the subject.
2. Create a Snapshot Copy
If you’ve applied other adjustments (like corrections or effects) to an image, it helps to create a new snapshot of your image. That snapshot gives you an easy way to revert back to a saved point in your workflow.
To add a snapshot, make sure you show the History panel. If you don’t already see it, come up to the Window menu and choose it.
On the History panel, find the camera icon at the bottom of a panel. Click on it to create a new snapshot of an image, freezing your progress.

At the top of the History panel, you’ll see a new Snapshot that allows you to jump back to the current state of the image. Just click on it to revert back to an earlier version. Think of this as version control for your Photoshop actions.
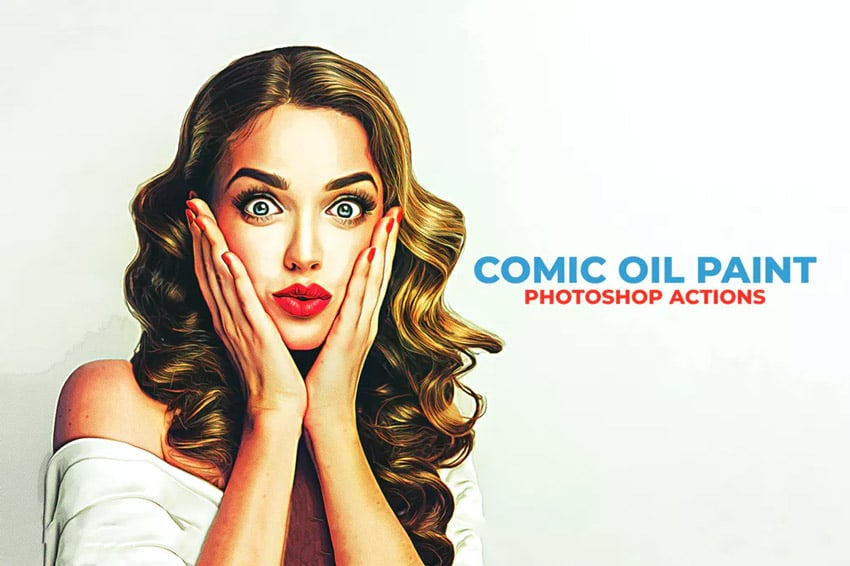
3. Load the Photoshop Actions
After you download the Photoshop actions, you’ll need to add them to the app so that they’re available to apply.
Photoshop actions come packages as .atn files. If you already have Photoshop installed, the easiest way to add them to Photoshop is to double-click on the action.

Then, find the Actions panel in Photoshop. If it’s not visible or you can’t find it, go to the Window > Actions menu to open it up. You’ll see a folder titled Comic Oil Paint Photoshop Actions. Inside this folder are ten different actions, each with a different take on styling your images comically.
4. Apply an Action
To apply an action, choose from one in the list and press the Play button at the bottom of the Actions panel. You’ll watch Photoshop spring to life and apply a series of transformations to an image. With this single click, much of the work of a comic book transformation is automatically handled.

Remember that there are ten actions included with the single Action file. If you want to try out other styles, use the snapshot we created to jump back to the original version of the image, and then try out another style in the action list.
5. Adjust the Action to Taste
The action is a great way to skip the individual steps it takes to create a comic style image. But, sometimes the effect is applied to parts of the image that you want to exclude, like a subject’s face for example. In that case, you’ll want to adjust the action so that
To adjust the action, start by opening up the Group 1 folder in the Layers panel. Scroll down to find the layers titled “Effect”, like “Effect Copy” and “Effect Copy 2.”
Start off by toggling these off and on using the eye icon on the left side of the layers panel. You’ll see effects toggled off and on. This helps you understand the purpose of each layer and how it changes the image.

Once you have a feel for what each layer does, grab the eraser tool from the tools panel. Then, erase out the areas you want to exclude from the comic effect. Repeat this with enough layers, and now you’ve adjusted how the action is applied to your image.
6. Add Halftone Overlays (Optional)
One of the additional assets that I recommend adding to your comic image is a halftone effect. With the halftone effect, you simulate the print style of comic books. Many of the actions in this package already have a halftone effect, but adding an additional layer can just take the effect that much further.
To add this, I’m simply going to open the folder with the halftone PNG’s, then drag it on top of the image. Resize and reposition it and place it on top of the image. You could also adjust the opacity to adjust the presence of the halftone effect.
That’s it! These steps take your image from photorealistic to comic ready. With the help of actions and assets, you’ll save hours of illustration.